Get started outfitting any DKS Entry System with Solar Power.
Choosing a Solar Power System for Any DKS Entry System
For remote locations or installation points without access to AC Power, all DKS Entry Systems are conveniently Solar-compatible and ready for the Solar Power System of your choice. Users wanting to power their Entry System via a Solar System will need to source the appropriate Solar Power System from a third party or work with a DKS Dealer to select a Solar System appropriate for each use case. The Solar System required will depend on various factors such as the specifications of the chosen Entry System, the number of Entry System accessories, geographical location, temperature range, expected use, etc. We recommend contacting a DKS Dealer to analyze your particular use variables and design a Solar System that will suit your needs.
All DKS Entry Systems are designed to accept DC Power, making them all compatible with a Solar Power System. The basic minimum power guidelines for most Entry Systems is Batteries: 1.5 amps/12 Volts and Solar Panel 24 Volt Solar Panel. The interior of the Entry System can hold a backup battery that will last for about 30 minutes. For batteries capable of additional run time you will need to secure additional housing.
Understand Your Entry System’s Minimum Power Requirements
Understand the Power Requirements of Any Attached Accessories
Understand the Impact of Sun & Temperature at Your Installation Location
Determine if the Solar System Needs to Provide Full Power or Backup Power
Source Battery or Batteries Appropriate for Your Location and Entry System Needs
Source Solar Panel Appropriately Sized to the Selected Battery or Batteries
Source External Housing for Larger Batteries
Install Equipment and Finetune Placement for Best Efficiency
Considerations Before
Installing a Solar System for
Your Entry System
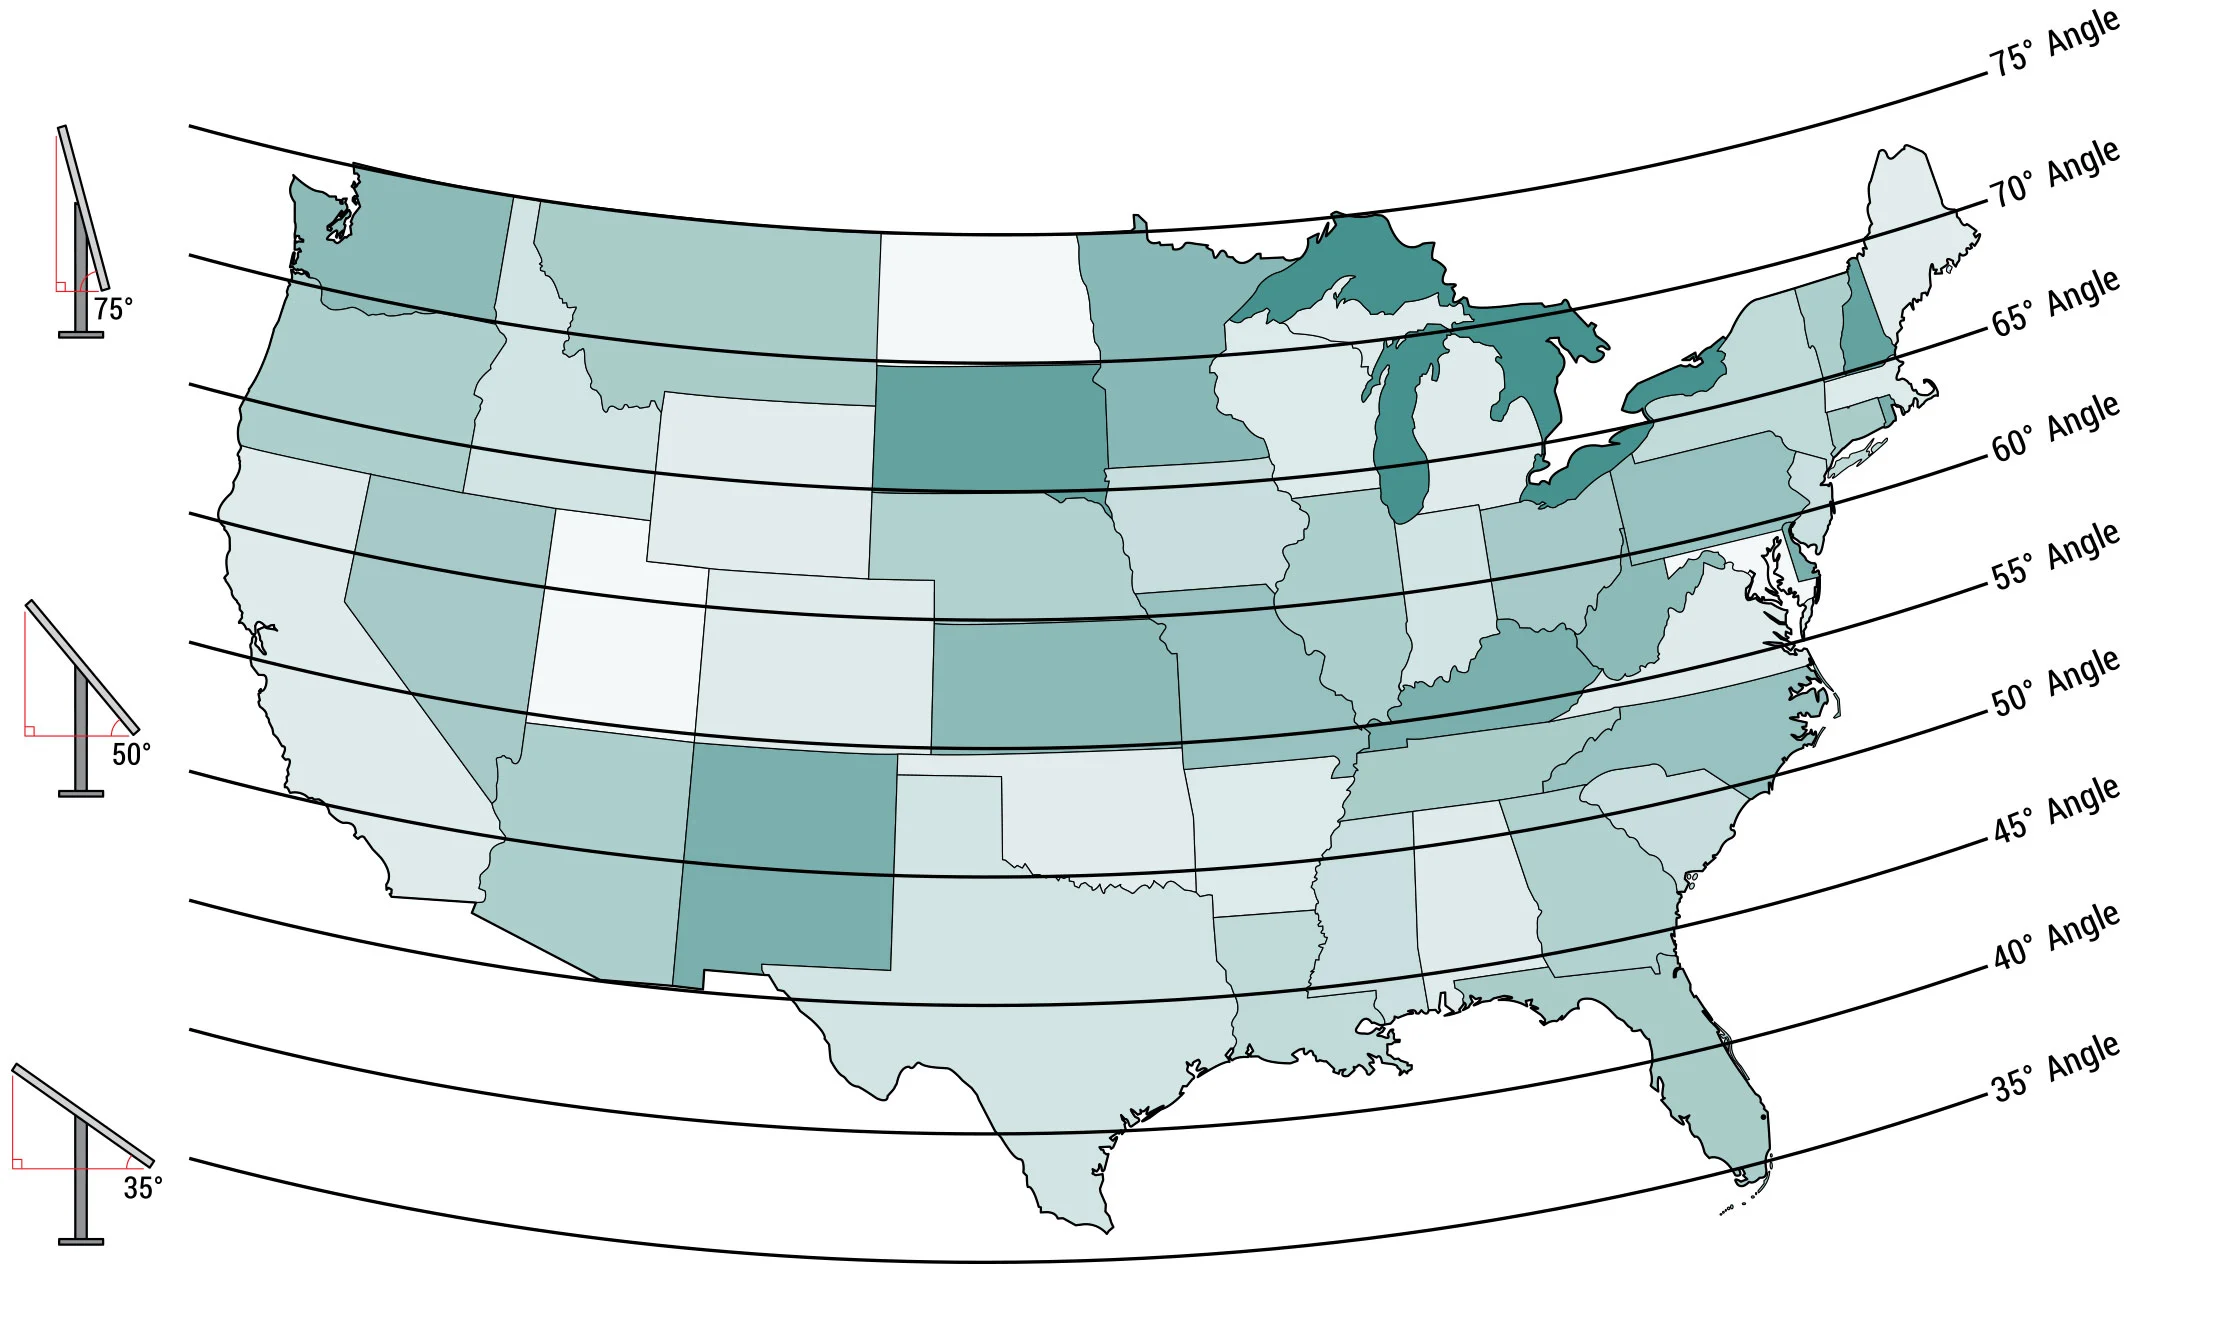
Correct positioning of the solar panel will determine the efficiency of the system. In general, the panel should be facing true south at a specific tilt angle towards the sun using the information provided below to achieve the highest efficiency. Some re-adjustment of the panel might be necessary over time to “fine tune” the system’s efficiency. The solar panel should be installed as close as possible to the control box in an area free and clear of all obstructions and shadows during the entire day. Generally, if the solar panel is not in sunlight, the batteries are not being charged.
Solar Panel Positioning
These charts should be used only for estimates. Solar system requirements can vary from this information. These maps do not take into account small climate changes and may not be 100% accurate for all locations.
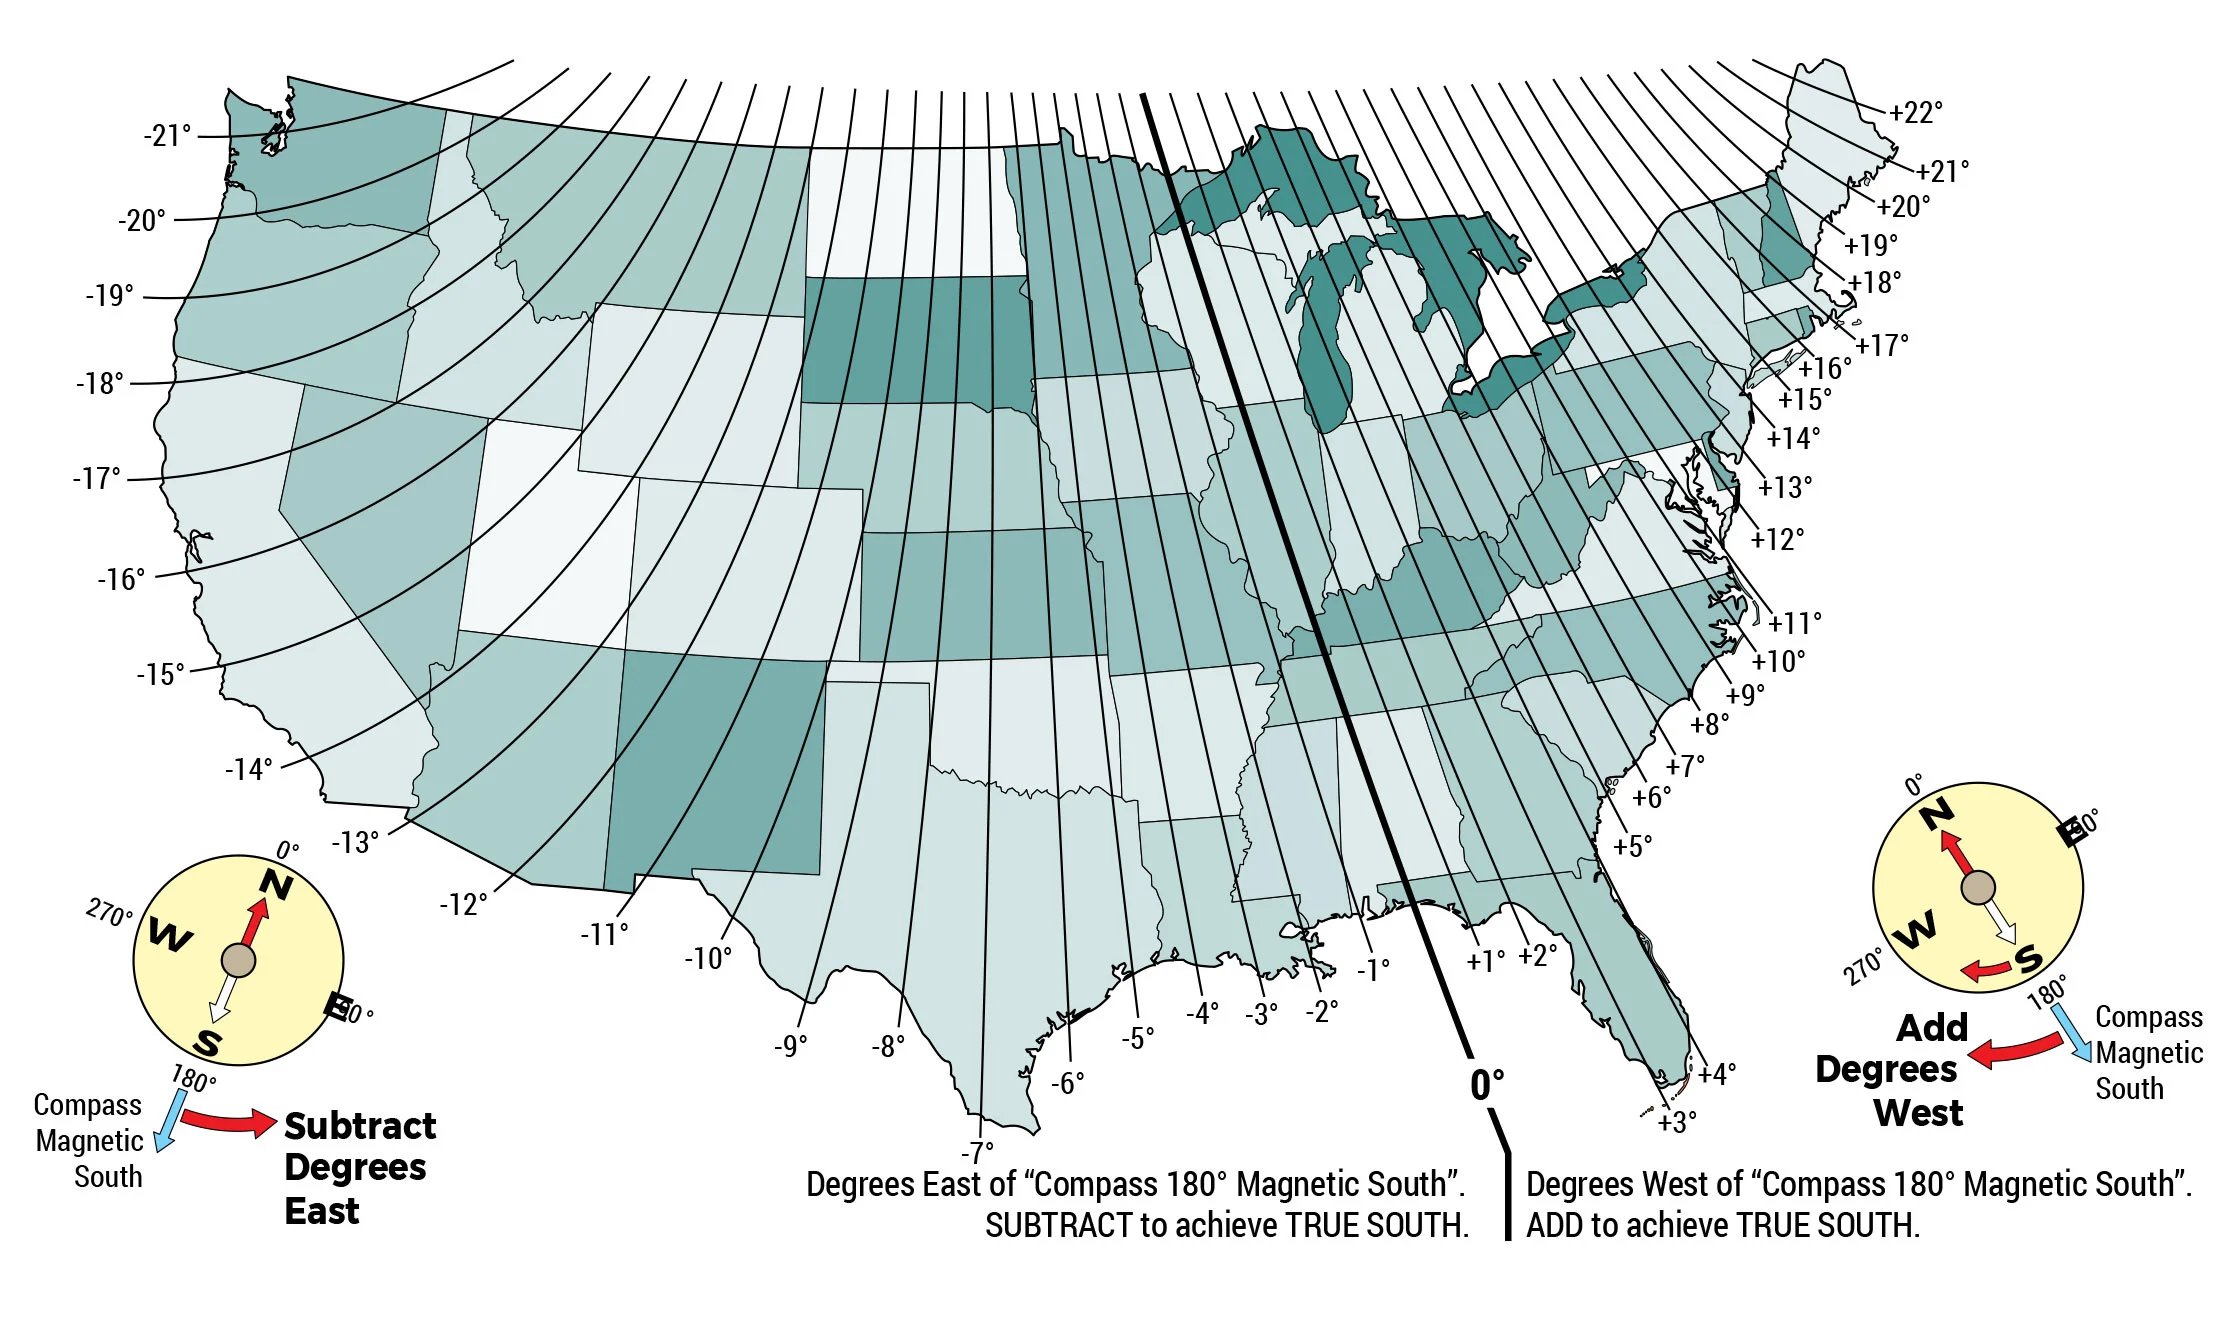
Solar Panel Must Point "True South"
It is important for proper system operation that the solar panel is oriented to true South. The directions of magnetic South and true South differ from one another depending on geographic location. The map below shows the difference between magnetic South and true South for your area.
Additional Elements That Will Impact Solar System Function
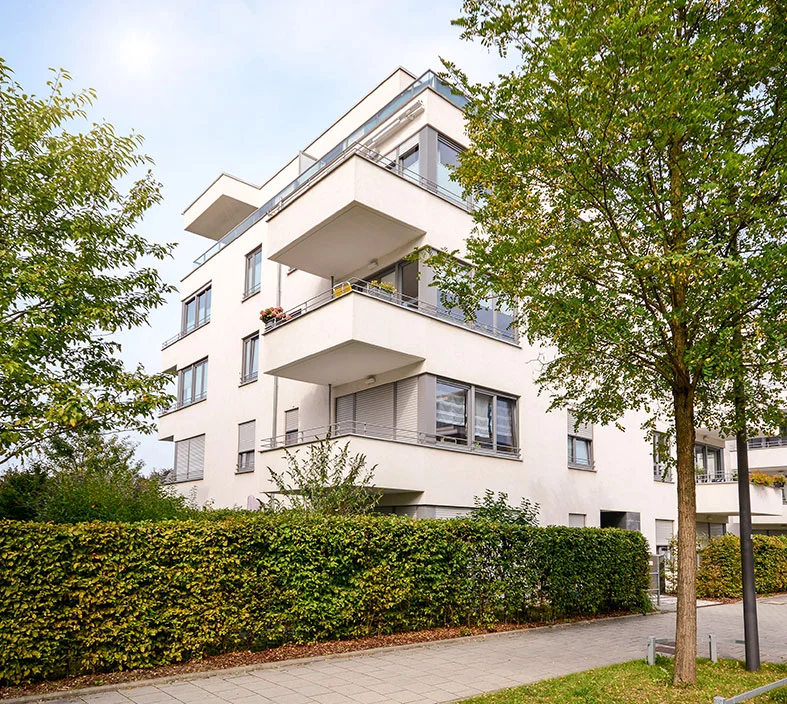
Trees and Buildings
Trees and Buildings that do not block the solar panel from direct sunlight in the summer could block the panel during the winter. The sun’s path across the sky is lower during the winter than the summer. The shadows that do not obstruct the solar panel during the summer months will cast longer shadows in the winter, which could block the panel then.
Wind
Wind can exert extreme pressure on the solar panel and support post. Make sure they are securely fastened.
Dust
Dust can accumulate on the panel over time. Cleaning the panel every so often is necessary to keep the system operating at its highest efficiency.
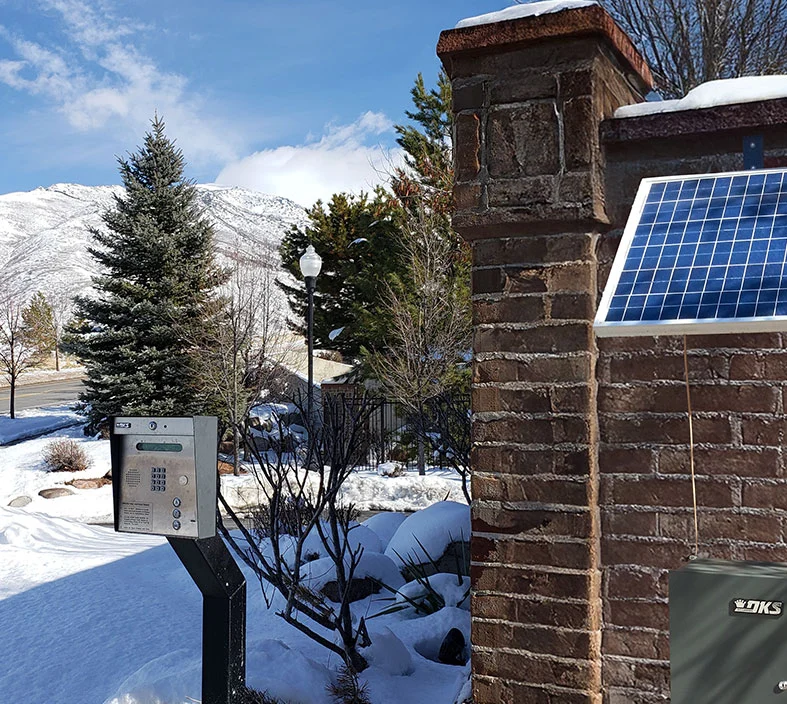
Snow
Snow may cover the panel during the winter. You may want to re-adjust the panel to a steeper angle to allow the snow to slide off. Even then, the panel may still accumulate snow and need to be manually cleaned off when necessary to keep the system functioning.
Looking for Expert Support
in Designing Your Solar System?